Quick Start Guide
Get your first custom product live in under 10 minutes.
All plans include a 7-day free trial. No credit card required to get started.
Prerequisites
- An active Shopify store on any plan (Basic, Shopify, Advanced, or Plus)
- A free Printful account (optional — needed only for dropshipping fulfillment)
- API keys for AI tools (optional — DeepAI, Remove.bg, or Photoroom)
Step 1: Install Podmaster
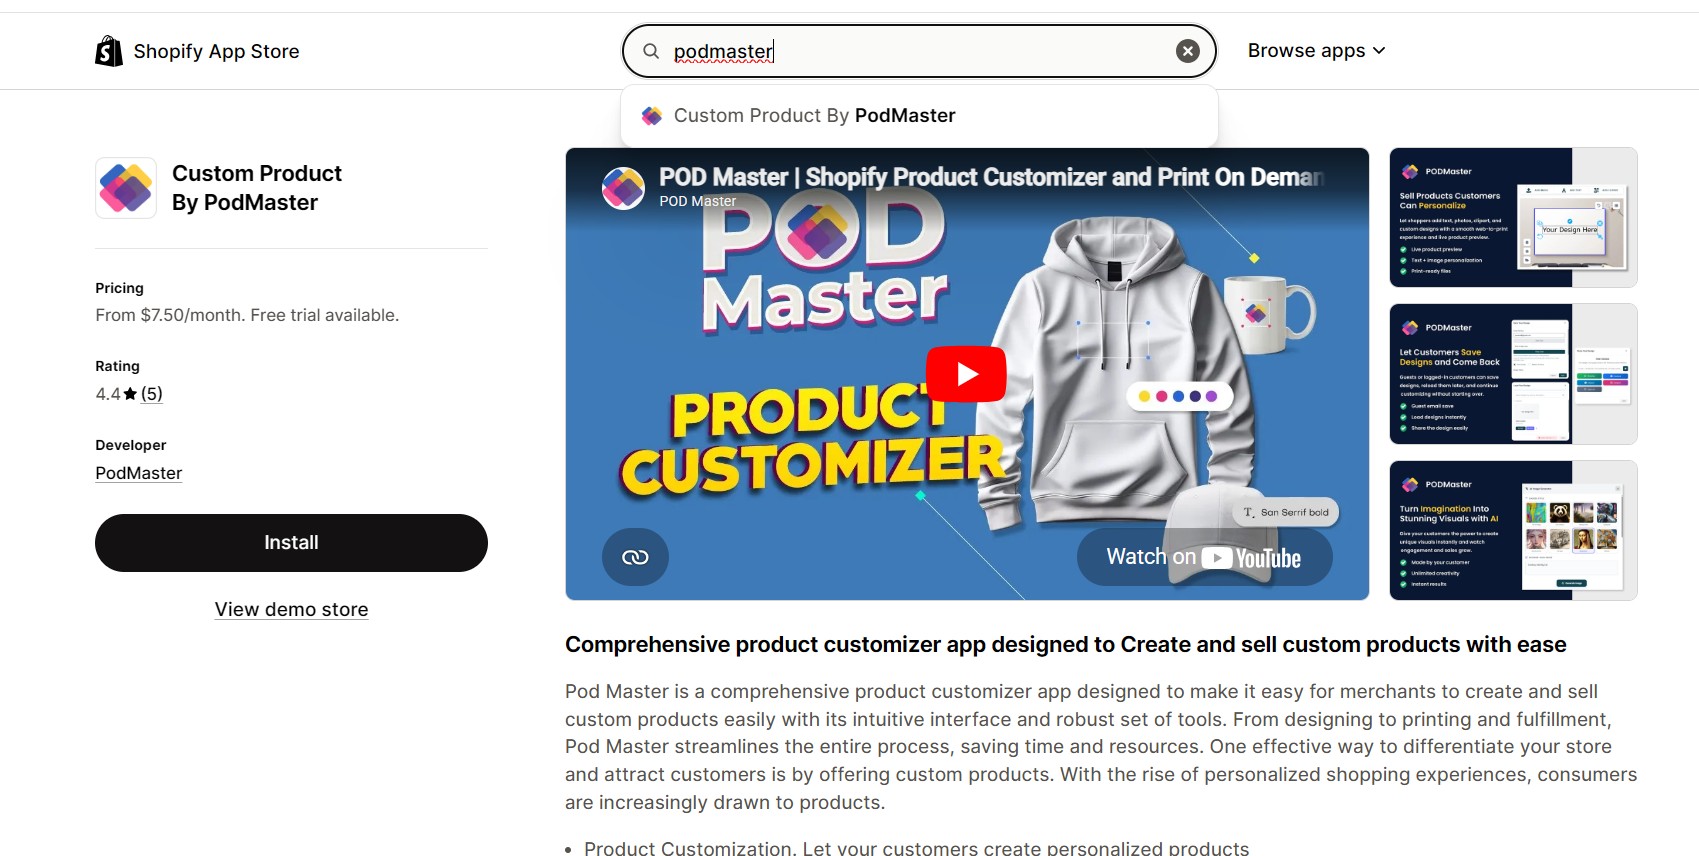
Find the app
Go to the Shopify App Store and search for "Podmaster" or "Custom Product By PodMaster".
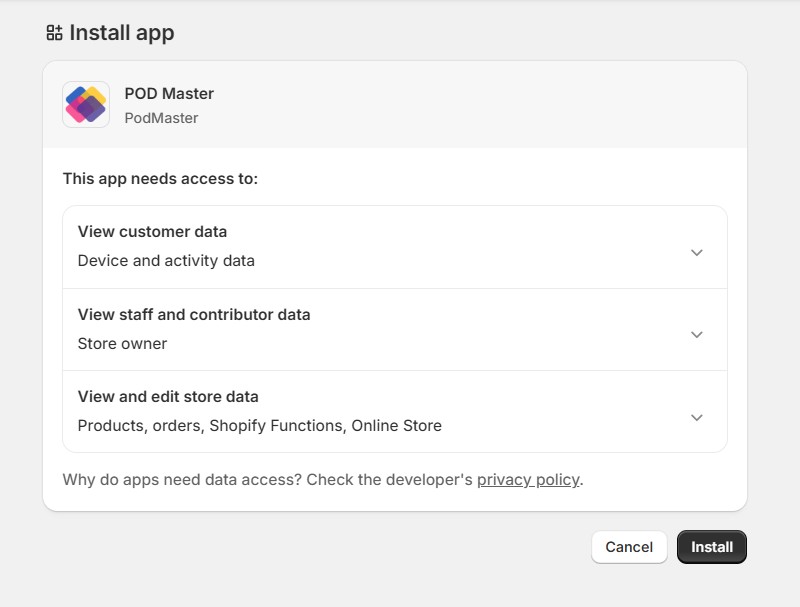
Add to your store
Click "Install" and authorize Podmaster to access your store. The app needs permissions to manage products, orders, and themes.
Complete the setup wizard
After installation, the Setup Wizard opens automatically and guides you through 4 steps. Each step can be skipped if you prefer to complete it later from the dashboard.
Setup Wizard
The setup wizard runs automatically the first time a merchant installs Podmaster. It walks through four steps:
Step 1 — Welcome
An overview of what the wizard will do. Click "Get Started" to begin.
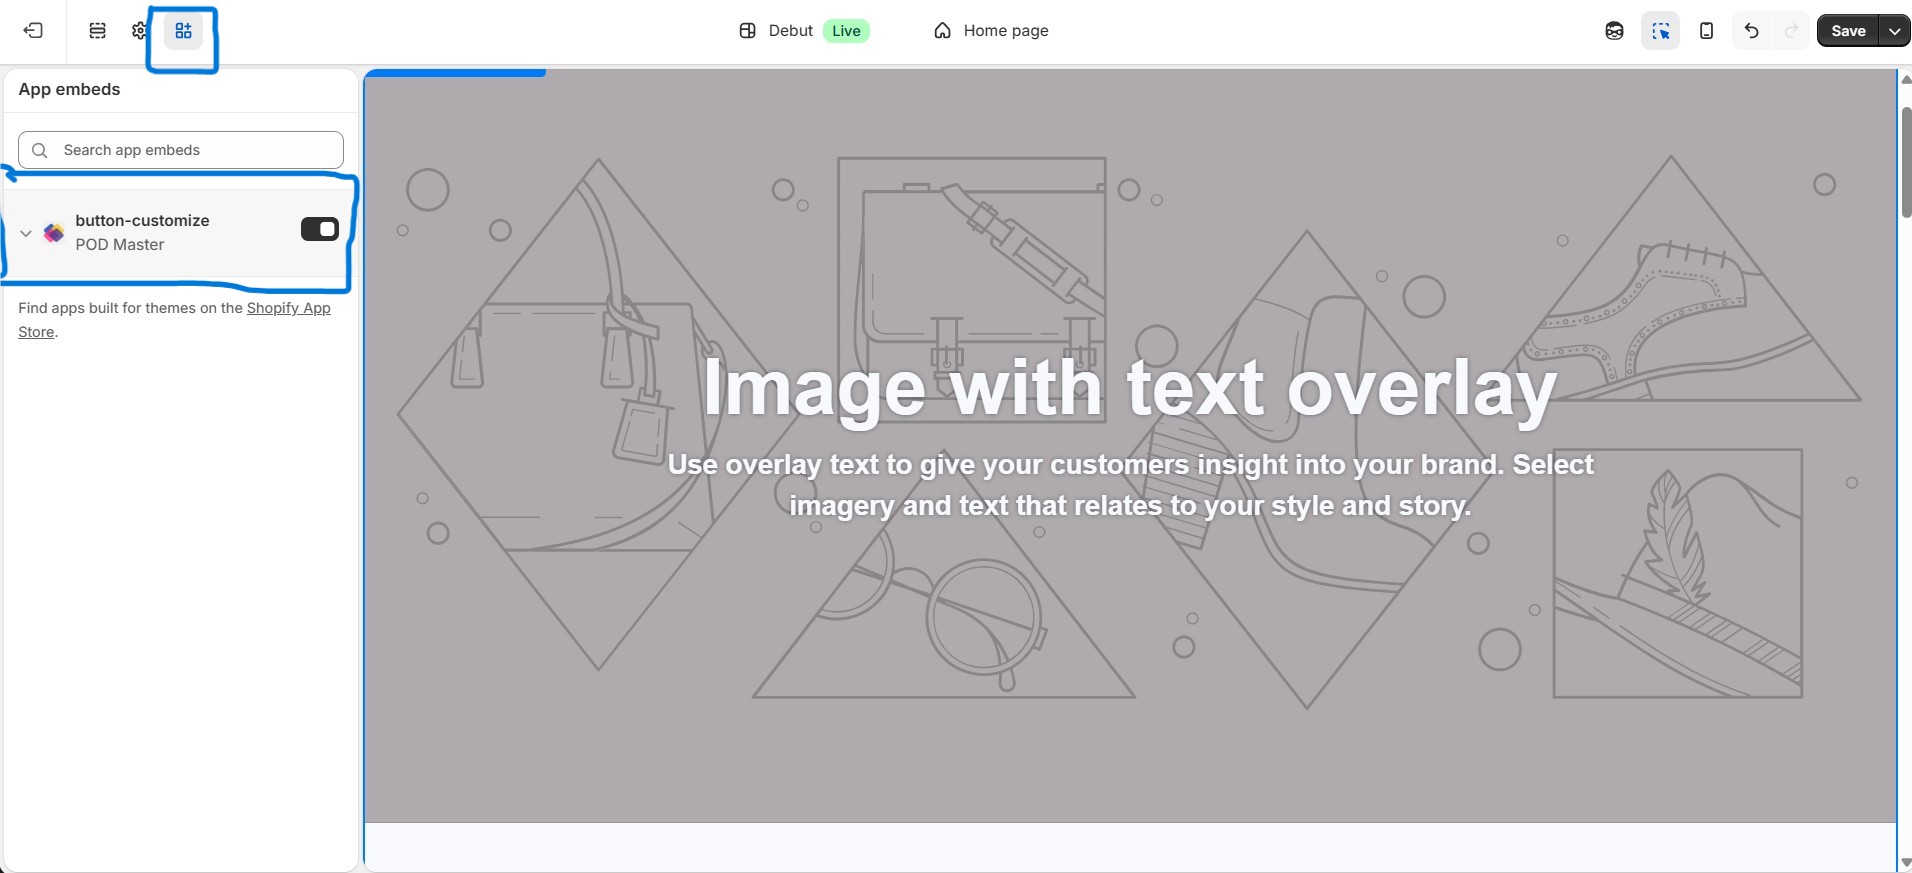
Step 2 — Activate the App
Adds the Customize button to your Shopify theme so customers can open the product personalizer directly from product pages.
- Click "Open Theme Editor" — this launches your Shopify theme editor with the Podmaster app block pre-selected
- In the theme editor, enable the app block and click Save
- Return to Podmaster and click "Next — I've activated it" to verify the activation
If you're not ready to activate your theme now, click "Skip for now — I'll activate it later" to proceed. A reminder will appear on your dashboard.
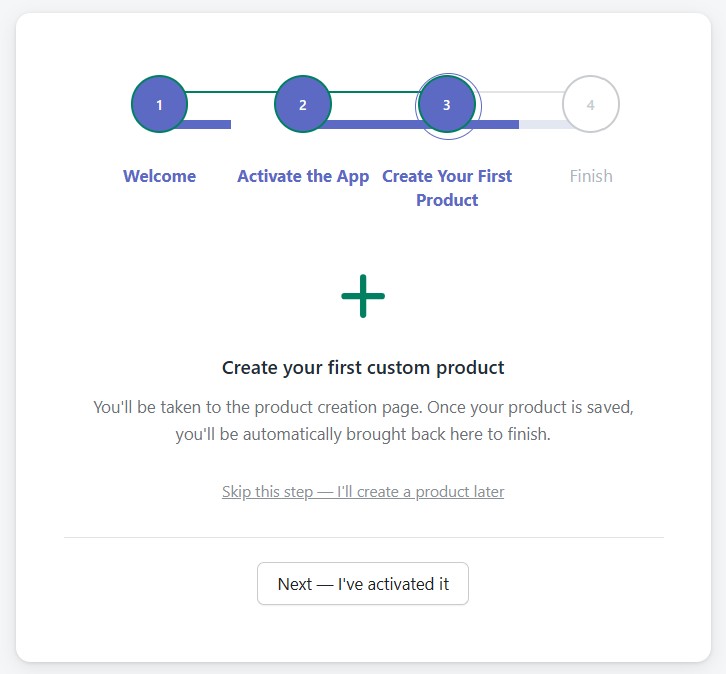
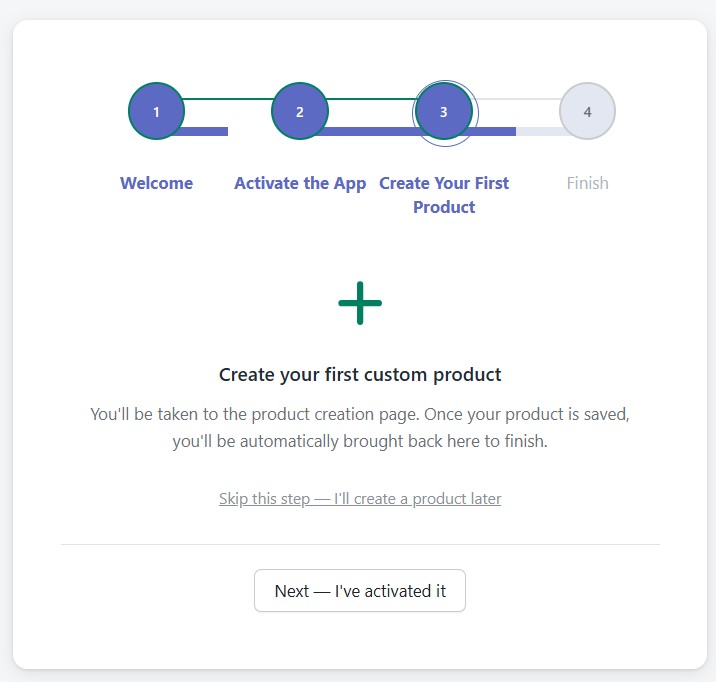
Step 3 — Create Your First Product
Clicking "Create My First Product" takes you to the product creation page to set up your first customizable item. You can create from the Printful catalog, templates, your existing Shopify store products, or from scratch. Once saved, return to the wizard to finish.
Not ready yet? Click "Skip this step — I'll create a product later" to go directly to the finish screen.
Step 4 — You're All Set!
A summary of what was configured during the wizard. Click "Go to Dashboard" to enter the app. Any steps that were skipped are shown as reminders on the dashboard.
If the wizard detects that your theme already has the Customize button enabled and you already have products, it will automatically advance through the relevant steps so returning merchants aren't slowed down.
Setup Reminders on Dashboard
Any steps skipped during the wizard appear as a "Complete your setup" card at the top of the dashboard. Each reminder shows:
- A description of the incomplete step
- An action button to complete it (e.g., "Activate now" or "Create product")
- A Dismiss link to permanently hide that reminder once you no longer need it
The reminder card disappears automatically once all items are either completed or dismissed.
Step 2: Configure Your Settings
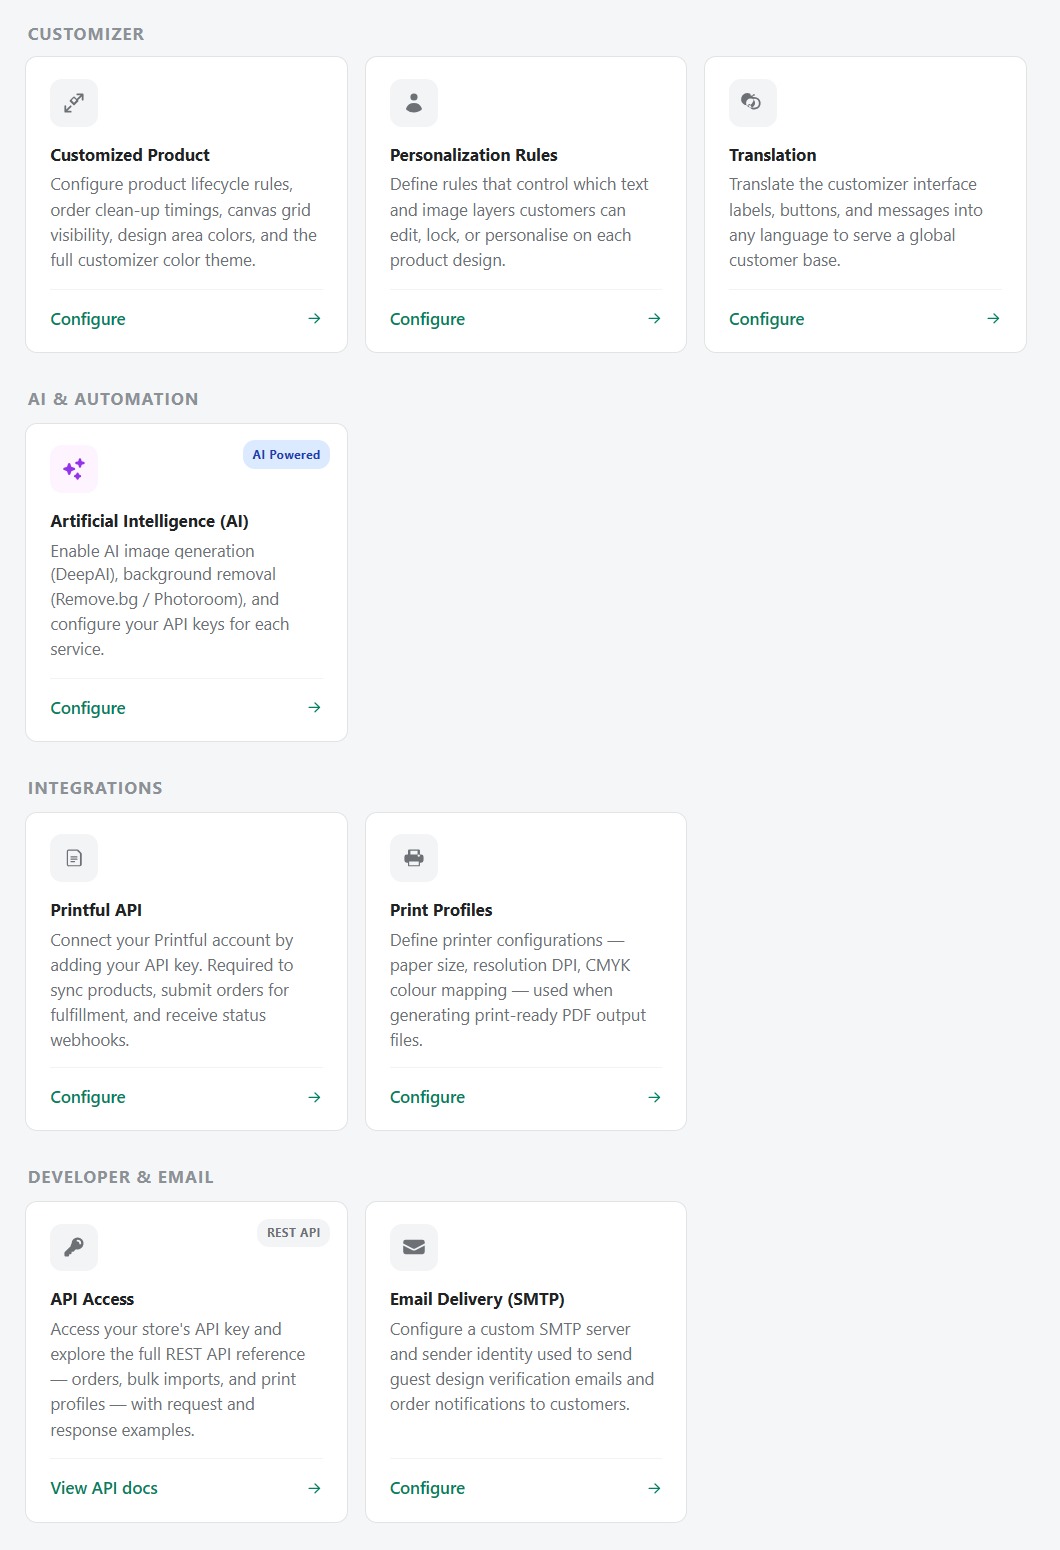
Once installed, configure these key settings from the Settings page:
- Language: Go to Settings → Translations to set your default language and add additional languages for international customers.
- Printful: Go to Settings → Printful and enter your Printful API key to enable automatic order fulfillment.
- AI Tools: Go to Settings → AI to enable the background remover and image generator by entering your API keys (DeepAI, Remove.bg, or Photoroom).
- Customizer Button: Go to Settings → Product to customize the appearance and text of the "Customize" button on your product pages.
Step 3: Create Your First Product
Navigate to Products and click "Create Product". You can start from four different sources depending on your workflow:
Option A: From Templates
Choose from pre-designed product templates. These come with pre-configured print areas and design elements, so you can quickly customize and publish.
Option B: From Your Shopify Store
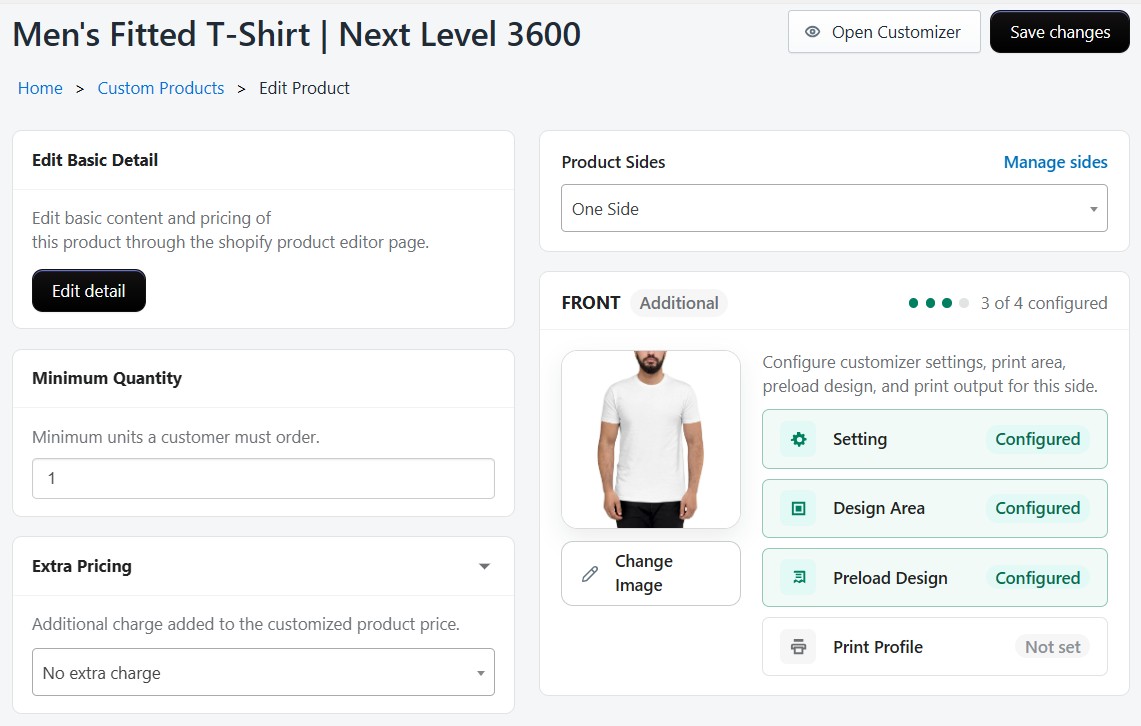
Use Create product from store when you already have products in Shopify and want to turn them into customizable products. Podmaster lets you select one of your existing Shopify products, then configure:
- Product sides — choose how many sides the product should support
- Store settings — assign personalization rules, font lists, and color lists
- Design areas — define where customers can place text and images on each side
- Preload design — add default text, images, or artwork that loads on the canvas
- Pricing — add extra pricing rules for text, images, or fixed/percentage-based charges
This option is ideal if you already sell a product in Shopify and want to add a web-to-print or product personalization experience without rebuilding the product from zero.
Option C: From Scratch
Upload your own product images and define custom print areas manually. This gives you full control over every aspect of the product configuration. Ideal for unique or custom products that aren't in the Printful catalog.
Option D: From Printful Catalog
Browse the Printful catalog by category (t-shirts, hoodies, mugs, posters, etc.). Select a product, choose your variants (sizes, colors), and Podmaster will sync it to your Shopify store. This is the fastest way to launch if you want dropshipping fulfillment.
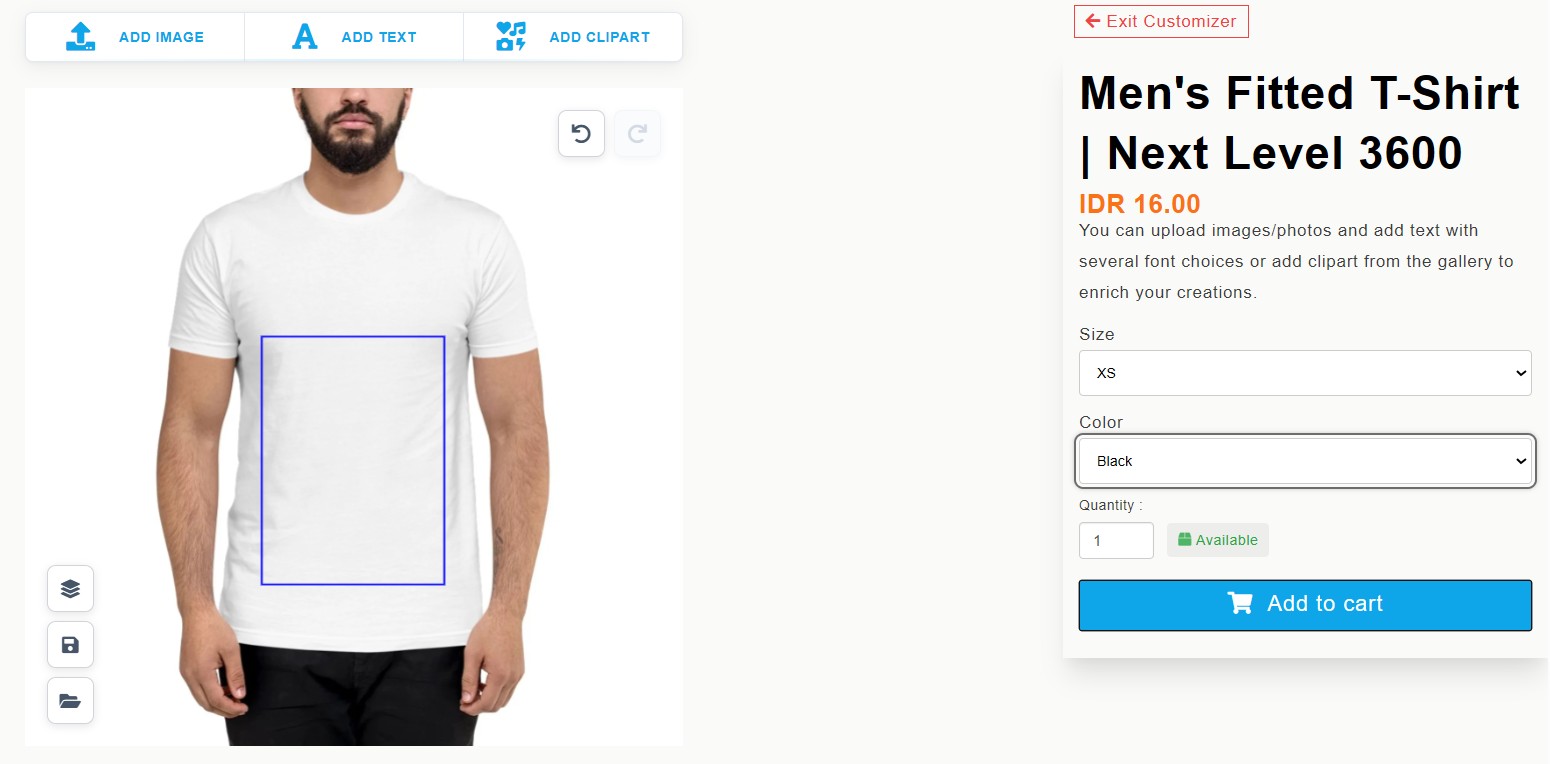
Step 4: Design Your Product
After creating a product, open it in the Product Customizer to assign designs:
- Add text — choose fonts, colors, sizes, and even curved text
- Add images — upload images or browse your asset library and clipart
- Use AI tools — generate images from text prompts or remove backgrounds instantly
- Define print areas — set where designs can be placed on each product side (front, back, sleeves, etc.)
- Save and publish — generate mockup previews and push the product live to your store
Step 5: Start Selling
Once your product is published:
- Customers visit your product page and click the "Customize" button
- They use the design editor to personalize the product with their own text, images, and designs
- They add the customized product to their cart and complete checkout
- The order appears in your Podmaster Orders page with the customer's design
- If using Printful, click "Request Fulfillment" and the order is sent to Printful for printing and shipping
Print-ready files are automatically generated for each order, so you can also fulfill orders through your own printing facility.
What's Next?
- Managing Products — Learn about product types, variants, and configuration options
- Product Customizer — Deep dive into the design editor and all its tools
- AI Tools — Set up and use the background remover and image generator
- Orders & Fulfillment — Manage orders and track fulfillment status
- Asset Library — Upload and organize images, fonts, colors, and designs