Windows App – Order Management
Use the POD Master Windows desktop app to browse orders, view customer designs, download and print PDF files, and manage fulfillment — all without opening a browser.
Overview
The POD Master Print Connector is a Windows desktop application (.exe) that connects directly to your POD Master account. It is designed for print operators and shop staff who need quick access to order files and printing tools from their workstation.
Browse Orders
View all paid orders with customized products, filter by status, and search by order number or customer.
View Designs
Preview customer design files for each product side directly in the app.
Print PDF Files
Send print-ready PDFs directly to your printer queue or open them in your default PDF viewer.
Download Files
Download print-ready PNGs and PDFs to your local machine for offline use or manual printing.
The Windows app requires a valid staff account. Staff accounts are configured in Settings → User Access & Staff inside the POD Master Shopify app.
Installation
Step 1 — Download the App
Download the POD Master Print Connector installer below. Run the .exe file to install the application on your Windows computer — no administrator privileges required.
Windows may show a SmartScreen warning on first launch because the app is self-distributed. Click More info → Run anyway to proceed. The app does not require administrator privileges.
Step 2 — First Launch & Connection Setup
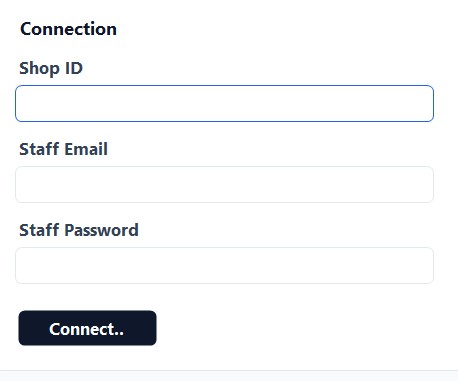
On first launch, the app opens a Welcome screen asking for your connection credentials:
Enter your Shop ID
Type your Shopify store identifier — the subdomain part only. For example, if your store is mystore.myshopify.com, enter mystore.
Enter your Staff Email & Password
Use the email and password of a staff account created in Settings → User Access & Staff in the POD Master app. This is not your Shopify admin login.
Click "Test Connection"
The app verifies your credentials against the POD Master API. A green success message confirms the connection is working.
Click "Connect"
Your credentials are saved locally. The app loads your orders and takes you to the main interface. You will not need to log in again unless you clear the settings.
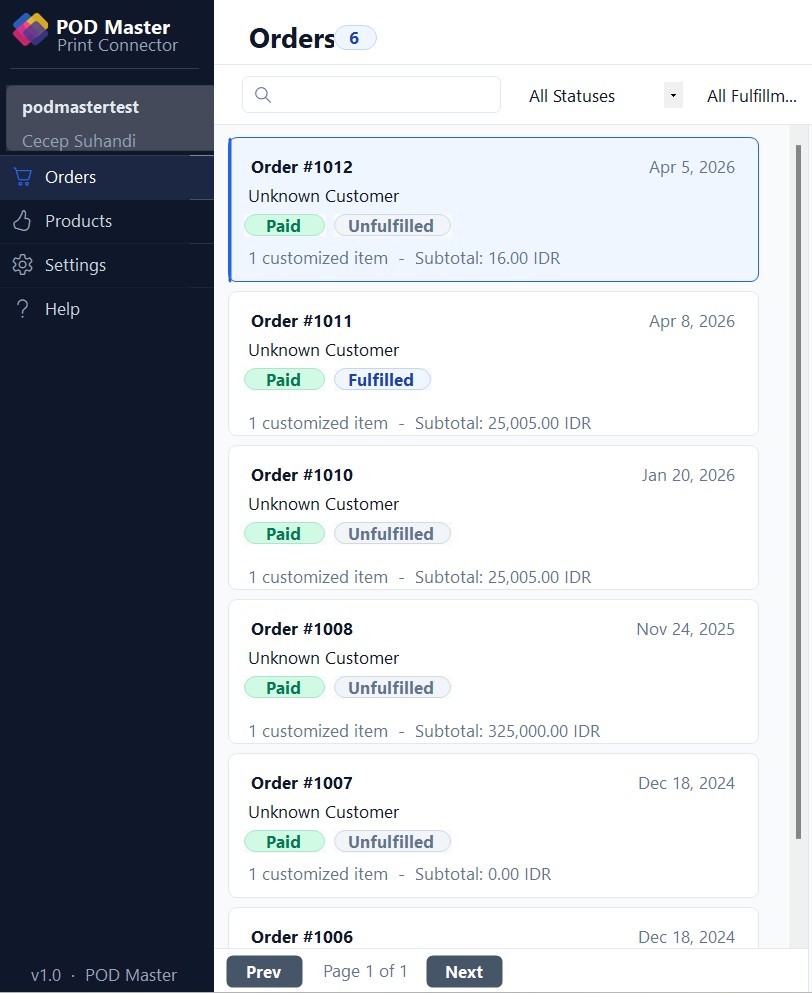
App Layout
The app is divided into two main areas:
- Left sidebar — Navigation links (Orders, Products, Settings, Help), your connected Store ID, and the active user's name displayed at the top of the nav.
- Main content area — Changes depending on the active section (orders list, order detail, products, settings, or help).
The Store ID and active user name are always visible at the top of the sidebar, so you can quickly confirm which account and store you are connected to.
Browsing Orders
Click Orders in the left sidebar to open the orders list. The list shows all paid orders that include customized products.
Order List Features
- Search — Filter orders by order number, customer name, or email using the search bar at the top.
- Status filter — Narrow results by payment status (paid, pending) or fulfillment status (unfulfilled, fulfilled, partially fulfilled).
- Pagination — Navigate between pages using the Previous / Next buttons at the bottom of the list.
- Refresh — Click the Refresh button to reload the latest orders from the server.
Each order card in the list shows:
- Order number and total price
- Customer name and order date
- Payment and fulfillment status badges
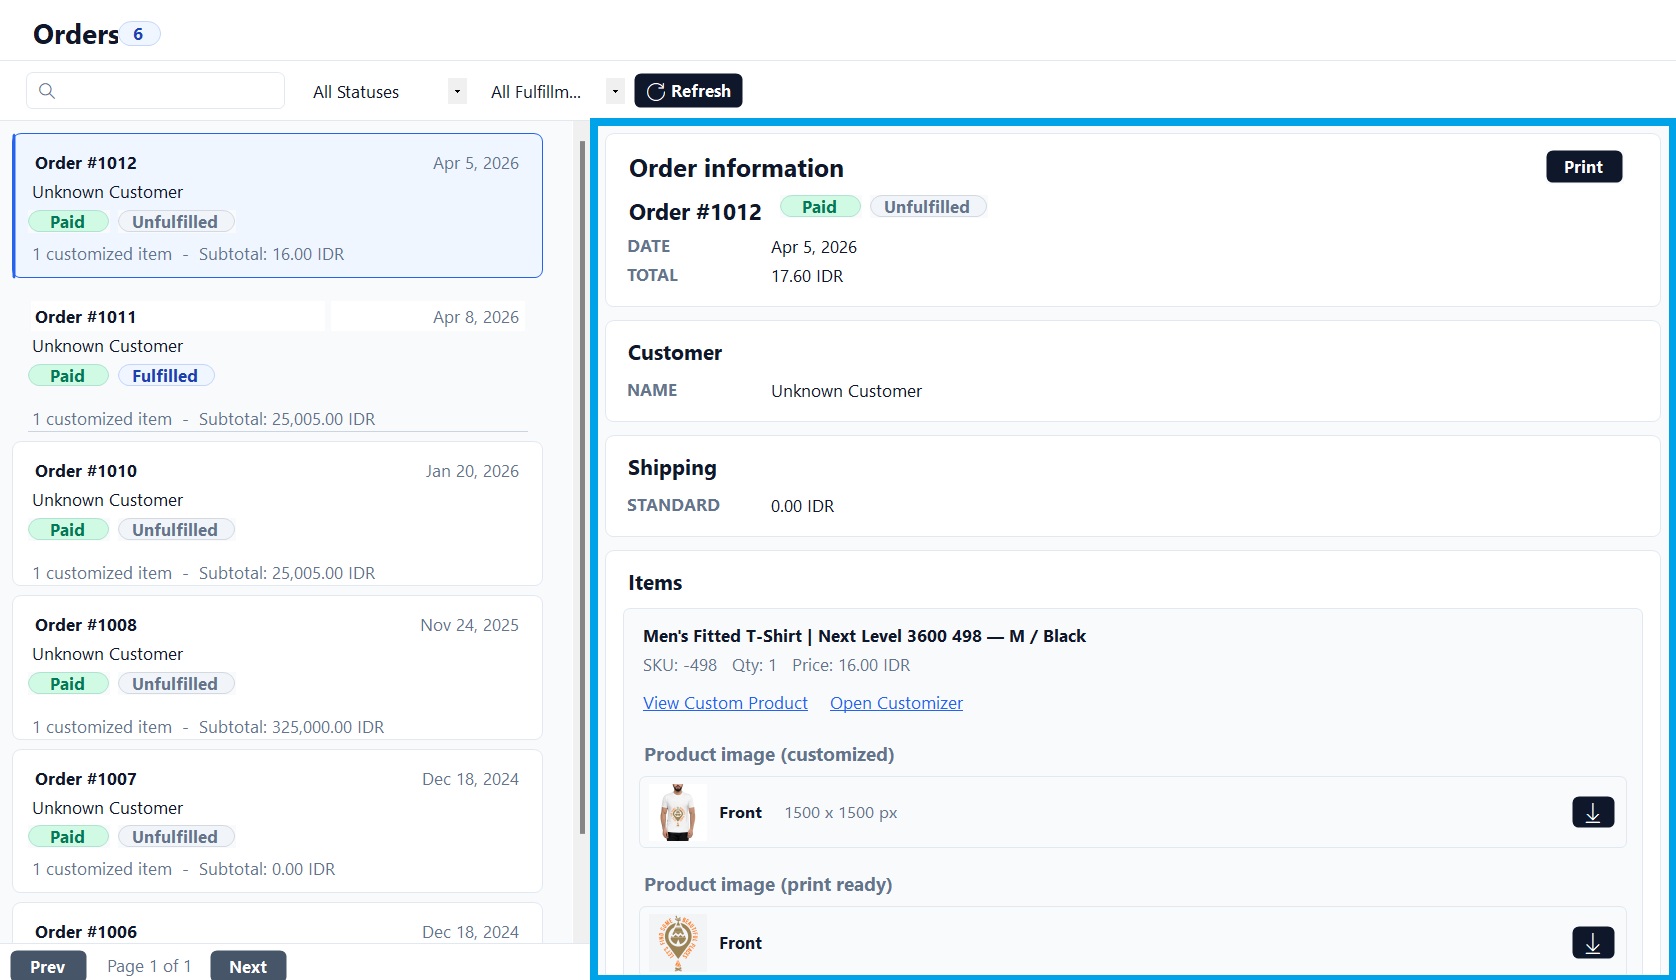
Viewing Order Details
Click any order card to load its full details in the right-hand panel. The detail view is organized into sections:
Order Information
- Order number, creation date, payment status, and fulfillment status
- Order total and currency
- Customer name, email, and phone number
- Shipping method and cost
- Order note (if any)
Line Items & Designs
Each customized product in the order is shown as an expandable section. Per line item you will see:
- Product title, variant, SKU, quantity, and unit price
- Design thumbnails for each product side (front, back, sleeves, etc.)
- Print-ready PNG download button per side
- PDF files section per side (see below)
PDF Files
The PDF Files section appears under each product side within the line item. It shows the PDF availability and print profile status for that side.
PDF Status per Side
| State | What You See | Available Actions |
|---|---|---|
| PDF available | Side name with print profile badge | Download PDF, Print, view Print Profile details |
| No PDF yet | "No print profile PDF available" message | Download PNG fallback instead |
| No print profile | Warning notice | Assign a print profile in the POD Master app first |
Viewing Print Profile Details
When a PDF is available, a Print Profile link appears next to the side name. Click it to open a detail modal showing:
- Profile name and side name
- Print device name — the target printer configured in the profile
- Paper size, orientation, printable area, and margins
- Design width and position
- Color mode (RGB or CMYK) and ICC profile (if CMYK)
- Whether the printer is currently detected on your computer
The Printer detected on this computer field tells you whether the target printer from the print profile is currently installed and available on your workstation. If it shows "Not found", the PDF will open in your default viewer instead of being sent to the queue automatically.
Printing PDF Files
There are two print actions available on each side that has a PDF:
| Action | What It Does |
|---|---|
| Behaves according to your Printing Setting (configured in Settings → Printing). Either sends the PDF directly to the printer queue or opens it in your default PDF viewer. | |
| Download PDF | Saves the PDF file to your Downloads folder for manual use. |
Printer Queue vs. Open PDF
In Settings → Printing, under the Printing Setting section, you choose how the Print button behaves:
- Automatically send the print-ready PDF to the printer queue — The app sends the PDF silently to the printer. If the target printer from the print profile is detected on your computer, it is used automatically. If not, the Default Printer configured in Settings is used as a fallback.
- Open print-ready PDF file — The PDF opens in your system's default PDF viewer so you can review it and print manually.
The Default Printer in Settings is the fallback used when the target printer specified in the print profile is not available on your computer. It is not used when the target printer is already detected.
App Settings
Access Settings by clicking the gear icon in the left sidebar. Settings are split into three tabs:
Connection Tab
Manage your API connection credentials:
- Shop ID — Your Shopify store identifier (subdomain only, without
.myshopify.com) - Staff Email & Password — Credentials for your POD Master staff account
- Test Connection — Verify the credentials work before saving
- Save Settings — Persist the connection credentials locally
Printing Tab
Configure printing behavior and printer selection:
| Setting | Description |
|---|---|
| Default Printer | The fallback printer used when the target printer from the print profile is not available. Select from the list of printers installed on your computer. |
| Copies | Number of copies to print per job (1–20). |
| Printing Setting | Choose between sending PDFs to the printer queue automatically or opening them in a PDF viewer. See Printer Queue vs. Open PDF above. |
Account Tab
View and update the profile of the currently logged-in staff account:
- Update First Name and Last Name
- View the account email (read-only)
- Change the account password using the current password + new password form
Browsing Products
Click Products in the sidebar to browse the custom products configured in your POD Master store. For each product you can:
- View product variants with their images
- See the design sides (front, back, etc.) and whether a print profile is assigned to each
- Check the Print Profile Assigned or No Print Profile badge per side — useful to quickly identify sides that need a profile before printing orders
Print profiles must be assigned to product sides inside the POD Master Shopify app (Products → Edit → click Print Profile on each side). The Windows app is read-only for product configuration.
Troubleshooting
"Test Connection failed" or orders not loading
- Confirm your Shop ID is just the subdomain — e.g.,
mystore, notmystore.myshopify.com - Confirm the Staff Email and Password match an active staff account in Settings → User Access & Staff
- Check that your computer has internet access
- Try clicking Test Connection again from Settings → Connection
No PDF available for a side
- The product side does not have a print profile assigned. Go to the POD Master app → Products → Edit the product → click Print Profile on the side and assign one
- After assigning, the next order for that product will automatically generate a PDF. Existing orders will show a Generate PDF button on the order detail page in the POD Master app
PDF sent to wrong printer
- The app first tries to match the Print Device Name from the print profile to a printer installed on your computer
- If the target printer is not found, it falls back to the Default Printer set in Settings → Printing
- Open the Print Profile detail modal on the PDF row and check the Printer detected on this computer field to diagnose which printer will be used
App shows "SmartScreen" warning on launch
- This is a Windows security warning for self-distributed applications
- Click More info, then Run anyway to proceed
- You only need to do this once. Subsequent launches open normally
Printer not listed in Default Printer dropdown
- Only printers installed in Windows are listed. Go to Windows Settings → Printers & scanners to install your printer first
- After installing the printer, reopen the POD Master app — it will reload the printer list automatically